Choosing Inserts
3/6/24
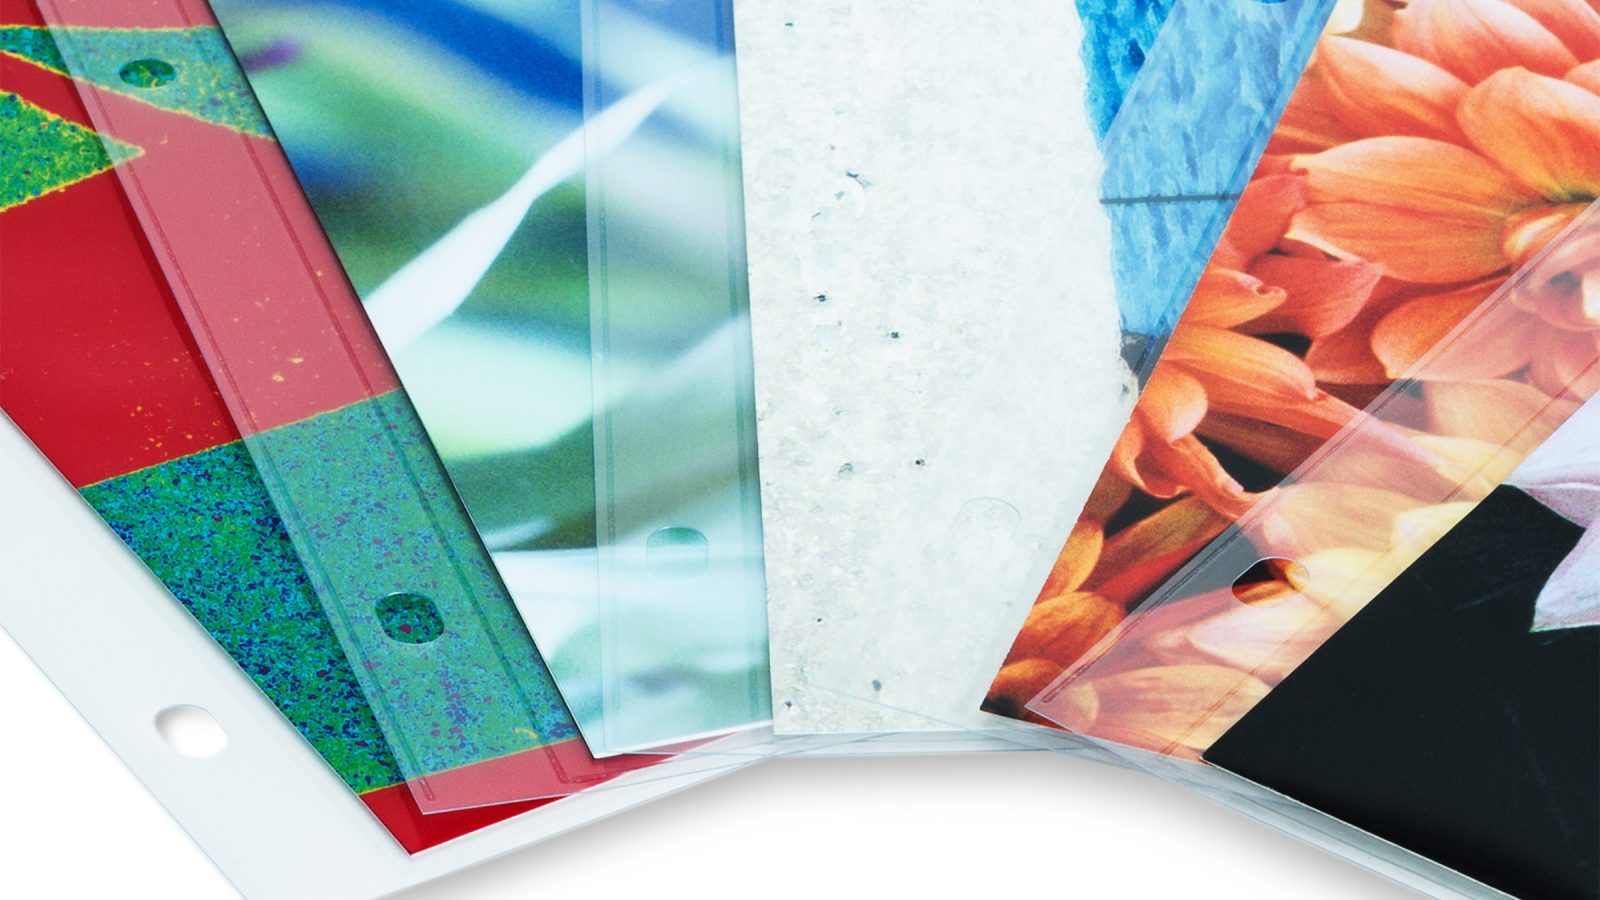
There are three standard options for binding print work into Screwpost Binders. While there is no one best solution, each has advantages and disadvantages. The easiest way to decide which inserts are the most appropriate for your presentation is to rank by importance the following criteria: cost, protection from damage, ease of use, and clarity.
Adhesive Hinge Strips
Adhesive Hinge Strips are the least costly method of binding prints into a book. To use them, you simply remove the adhesive liner and adhere the strip to the edge of your print. You’re basically adding a hinge to the edge of the work so it can be inserted into a screwpost binder. The process of applying them is simple but use care when positioning them as they are generally not removable. While they may be inexpensive, and they allow for a totally unobstructed view of your work, they offer no protection to your prints from damage such as fingerprints and dust. Adhesive Hinge Strips, then, are most appropriate for books with artwork that is relatively replaceable.
Pro-Archive Sheet Protectors
If you need a solution that is easy to use and provides protection for your work, the Pro-Archive sheet Protectors are an excellent choice. Made in the USA of ultra-clear, scratch-resistant archival polypropylene, these top-loading sheets feature a non-stick finish to prevent adhesion to your artwork. Simply insert your art or documents and you're done. This is the traditional way of binding work into screwpost books.
Hole-Punched Paper
While hinge strips and sheet protectors are great options, a third way to put your work into a screwpost binder is to simply hole-punch your pages and install them directly into the binder. This simple approach might not be a good choice for prints that need to be protected from handling, but for most commercial presentations it's a great way to go.
There is one important caveat here, though: All screwpost binders are formatted to hold the viewable page outside of the binding area. The binding area (where the screws and posts go through your pages to attach them to the hinged flaps) is about .75" wide. This means that anything you print in that .75" wide area along the binding edge of the sheet will be covered by the hinge flaps. It also means that your standard format page, if punched and installed in a standard screwpost binder, will result in an unusually large margin opposite the binding edge. The fix for this is to add .75" to the width of the sheet. So, for example, instead of printing your work on a standard 8.5x11 landscape orientation sheet, add .75" to the width and make that sheet 9.25" x 11" overall.